RV Water Heater - Anode Rod Install
The maintenance for your RV Hot Water Heater is limited to replacing the Anode Rod and rinsing out the collection of debris within the tank. There are a few tools that are needed for the project and we will share those as well as a link to the “YouTube Short” put together by John that shows you just how easy it is to do! 😃
As Amazon Associates we may earn from qualifying purchases.
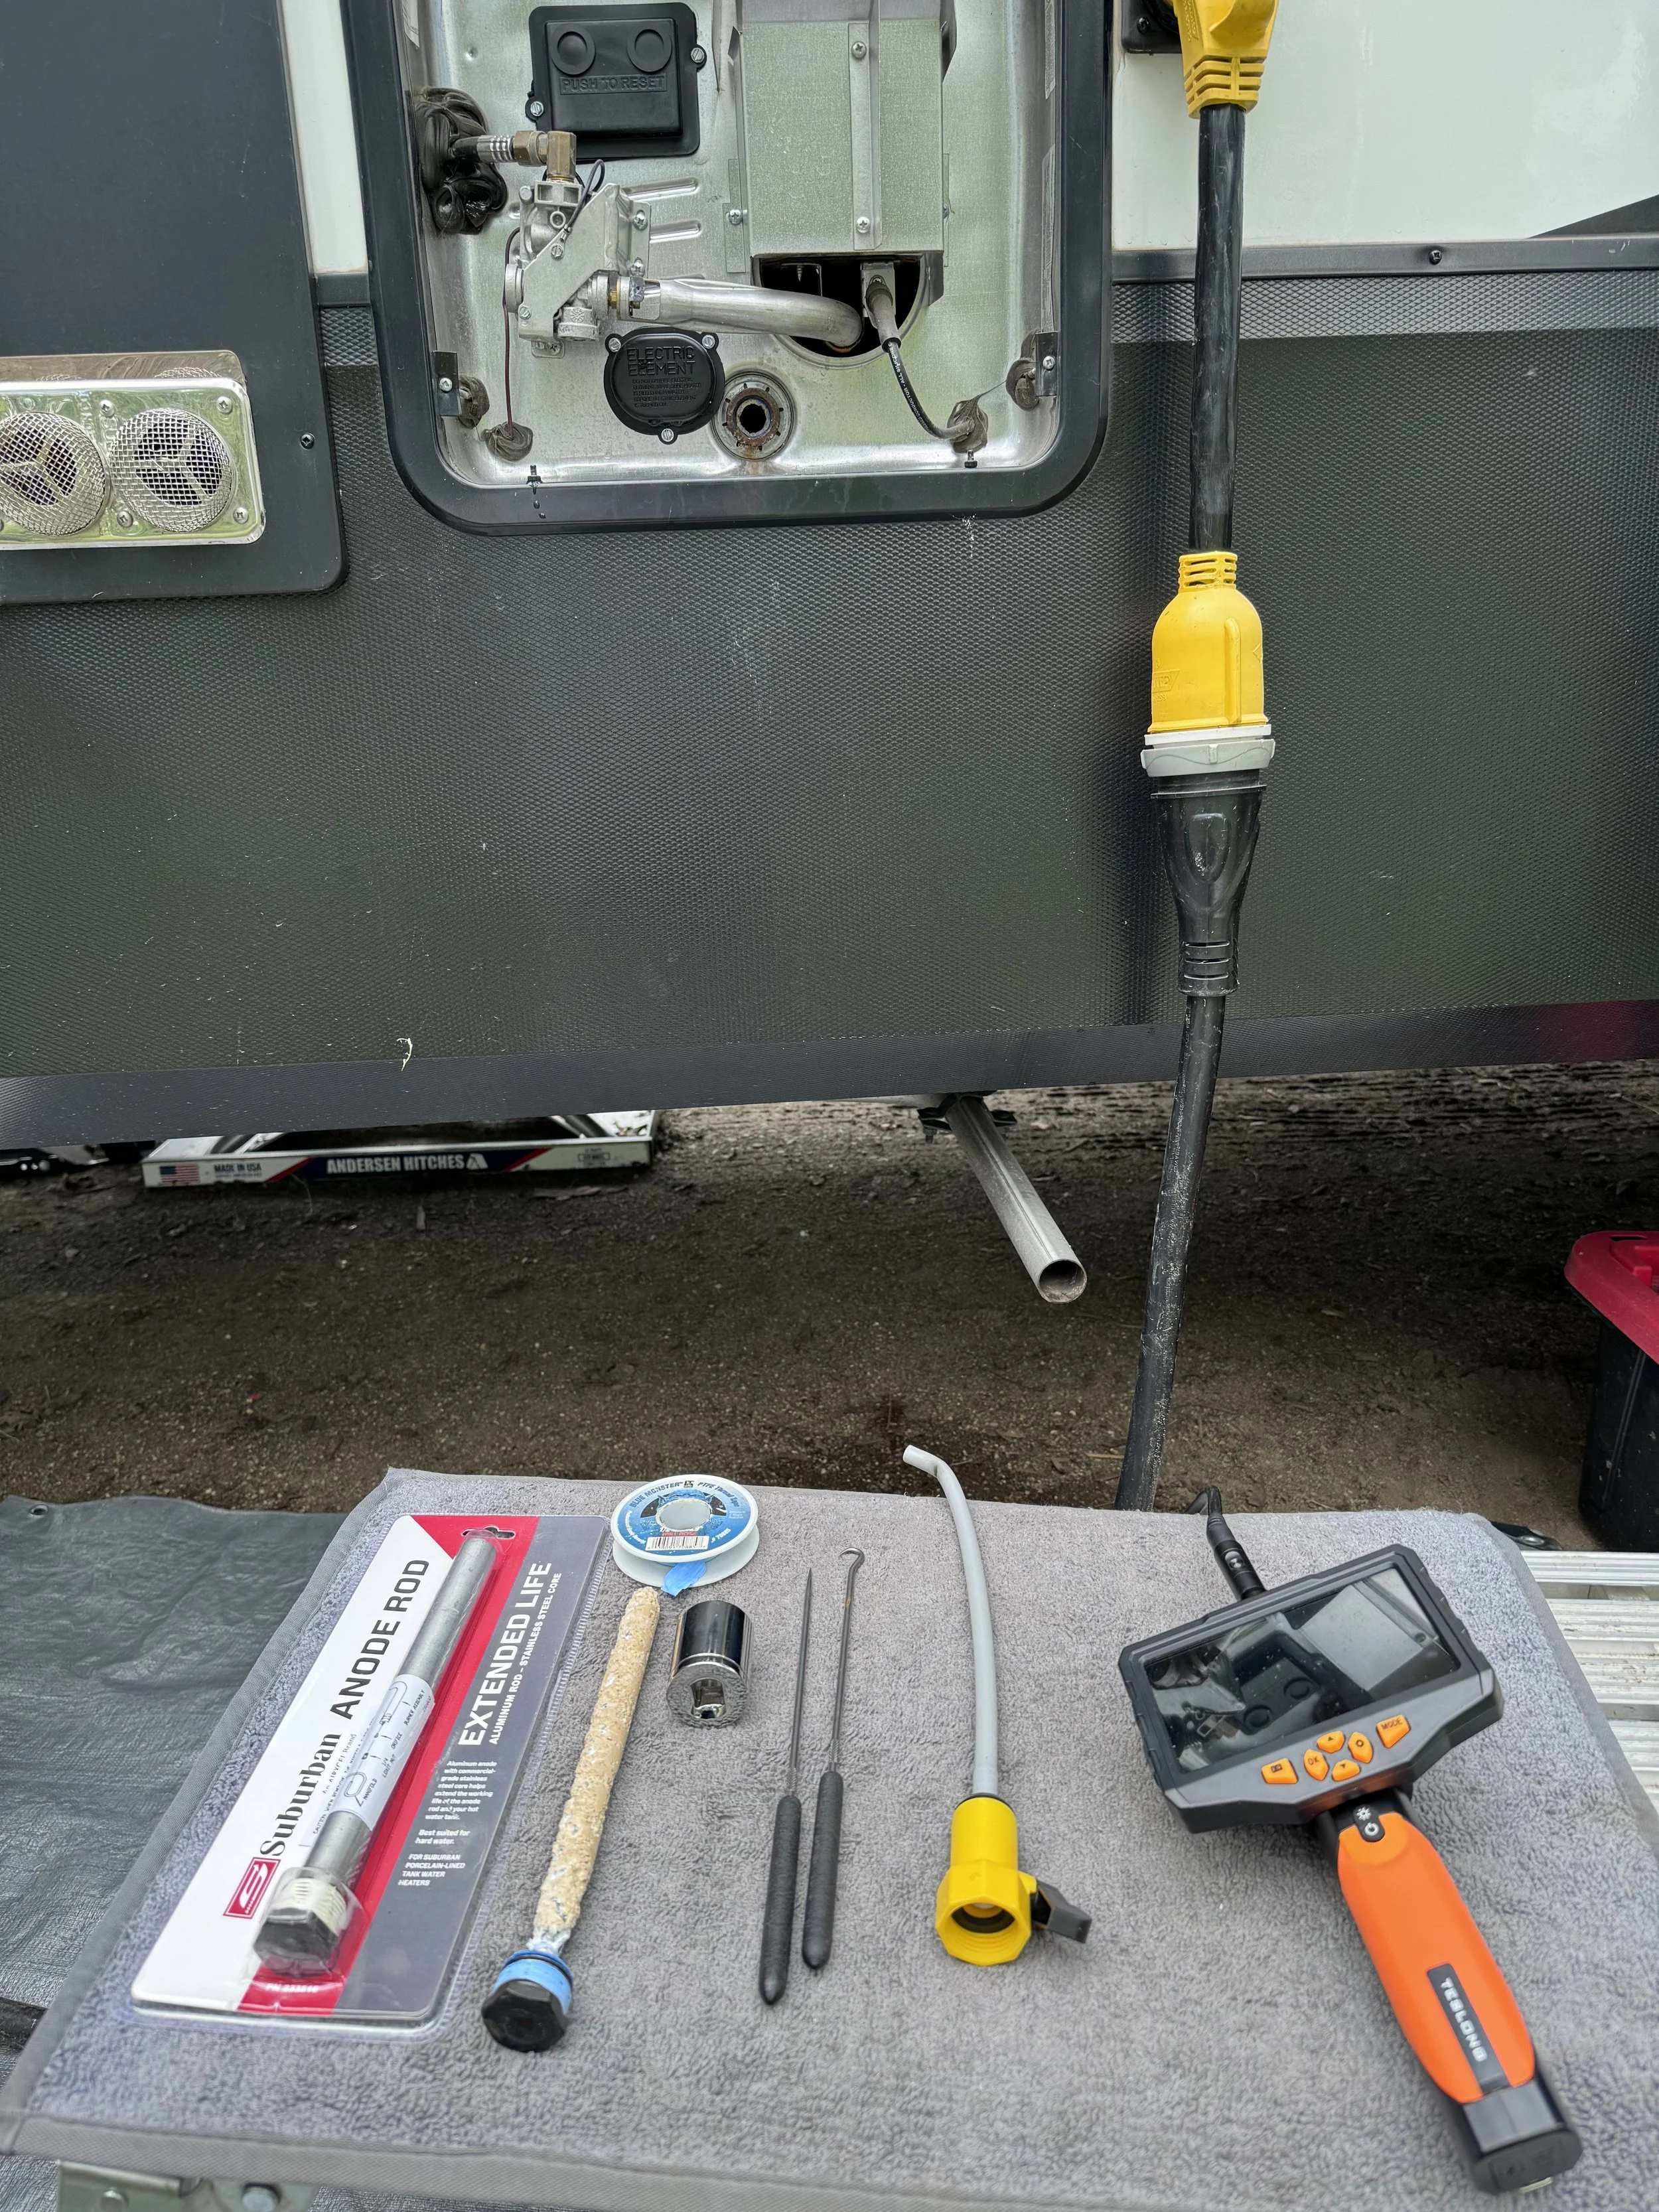
Step 1: Remove the old Anode Rod and inspect. This one is ours and it is ready to be replaced.
Made of magnesium, the anode rod helps with electrolysis within the hot water heater in order to maintain balance. Over time, the rod will be “eaten away” and need to be replaced.
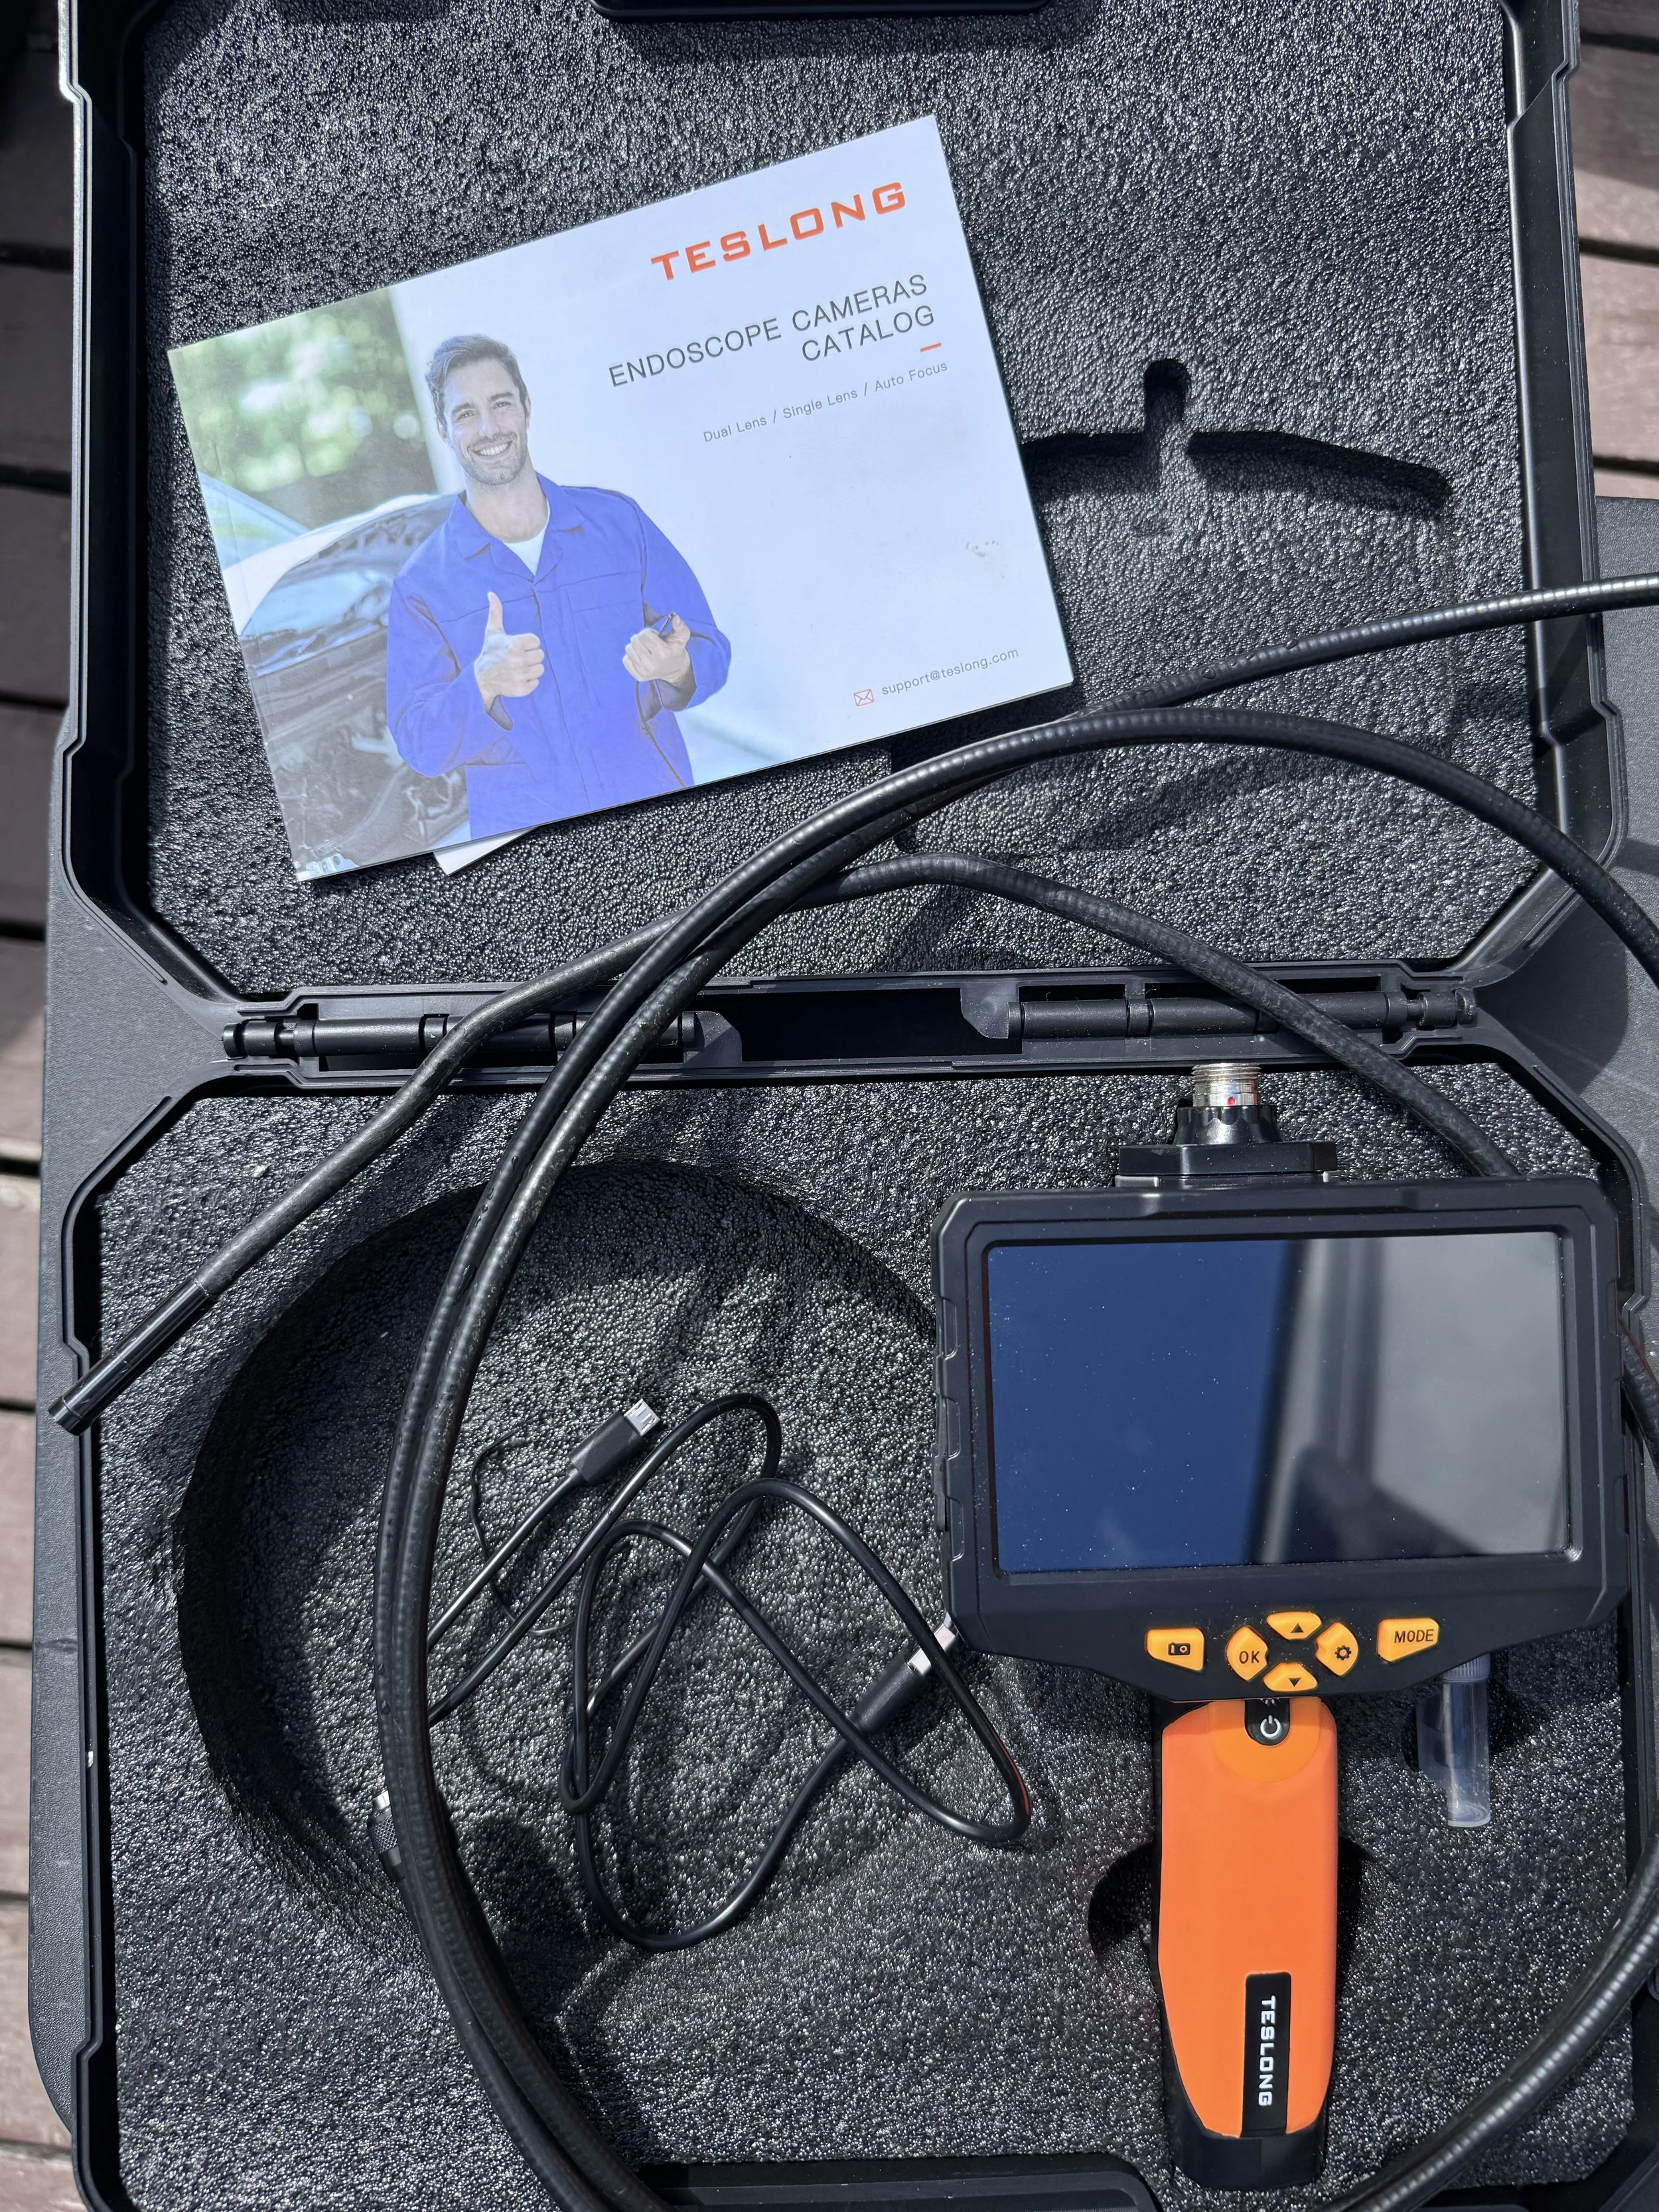
This Teslong “Endoscopic Camera” works for SO many projects in the RV world! we have used it dozens of times: water leaks, behind walls for wiring, under cabinets, and now the hot water heater. You can capture images as well as video to keep for your records.
Be sure and add the Teslong 3 piece add of Magnet, Hook, and Mirror.
We have used the magnet several times for lost nuts and bolts while working on our truck, RV, and motorcycles! Very handy. 👍
The Camco Water Heater Tank Wand is the main tool for this project. For under $15.00 you can purchase the wand and use it over and over again. Since the Anode Rod needs replaced annually, you will definitely need it again next year.
To be honest, this was the only tool we had used in the past to do the cleaning of the tank. With time, we have improved our process by adding the camera to confirm that the residual debris has been washed out.
Using the Blue Teflon Thread Tape helps to protect the threads on the Anode Rod.
John uses the blue PTFE tape on all of his hose connections: arriving at the RV park, all hose and plumbing connections.
Thanks for reading and watching! Let us know if you have any questions as the short video does go pretty quick!
John and Caroline ☘️


